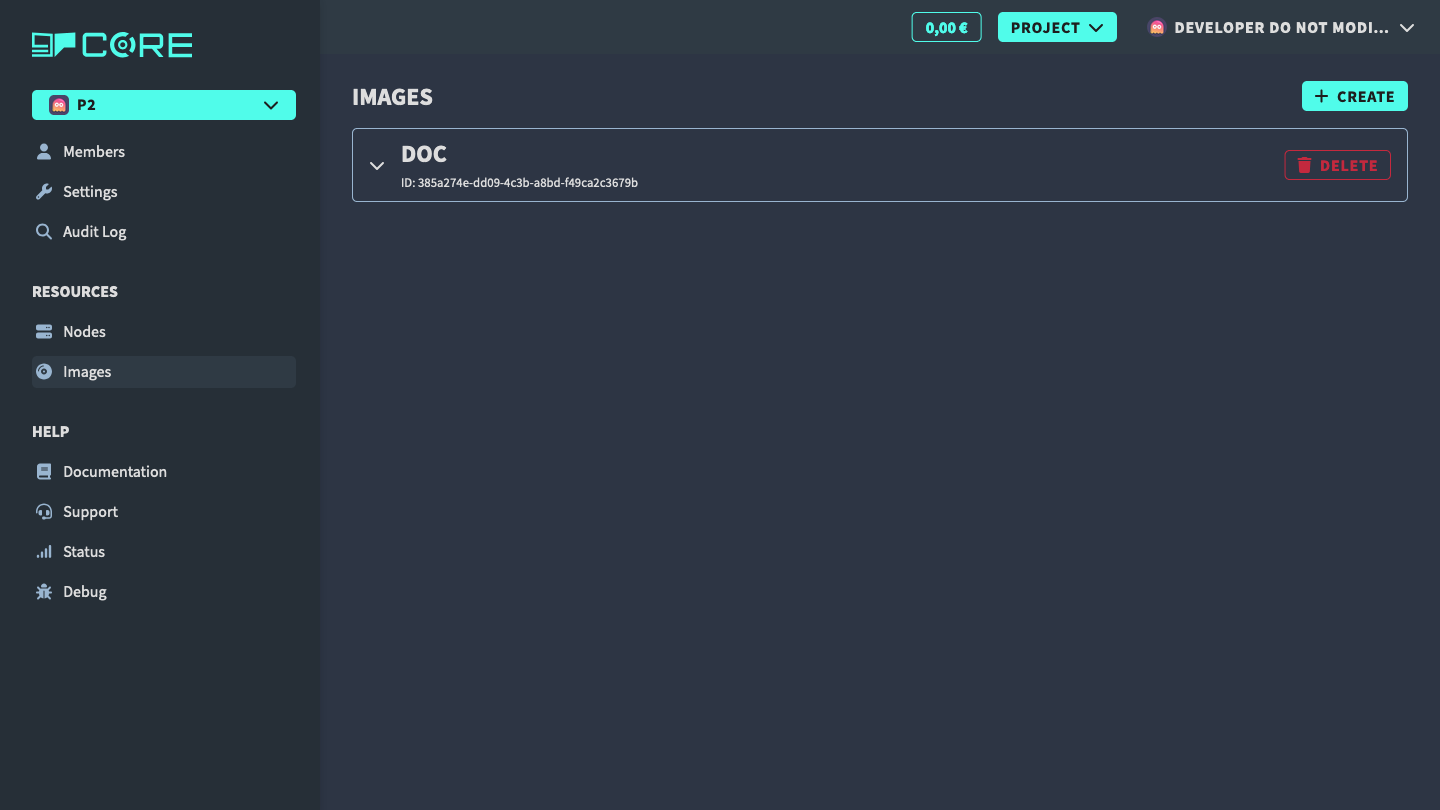
Project Images
Project images are custom OS images that you upload and manage within a project. They can be selected alongside public images when creating or reinstalling a node. This is useful when you need a pre-configured operating system, a specific distribution not available in the public image library, or a hardened base image tailored to your workloads. Images are versioned, so you can upload new versions while keeping older ones available for rollback. Supported formats are qcow2 and raw.
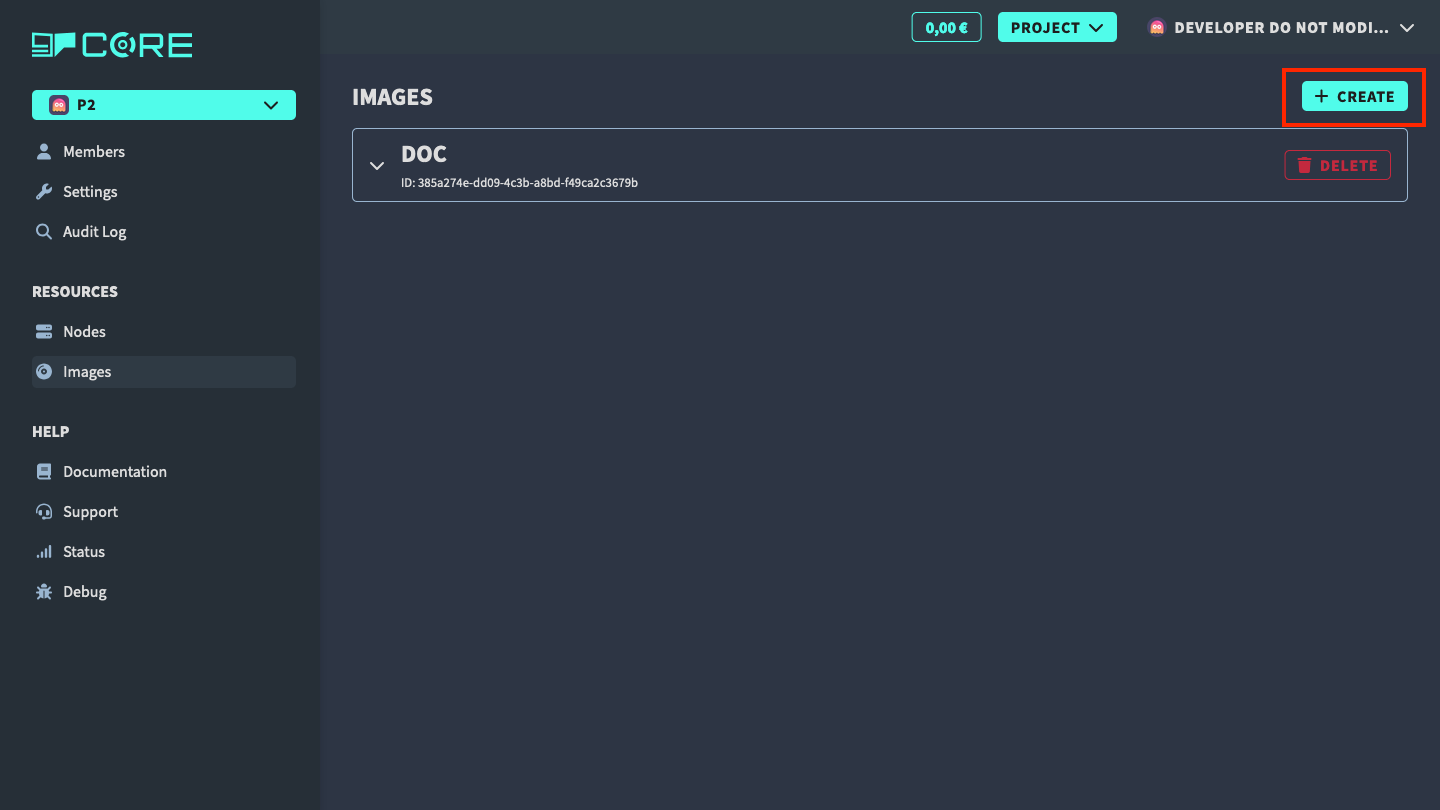
Create an image
To create an image, click on the Create button. Fill in the form and submit it.
You will need to enable at least one authentication method (SSH key or password) to create an image.
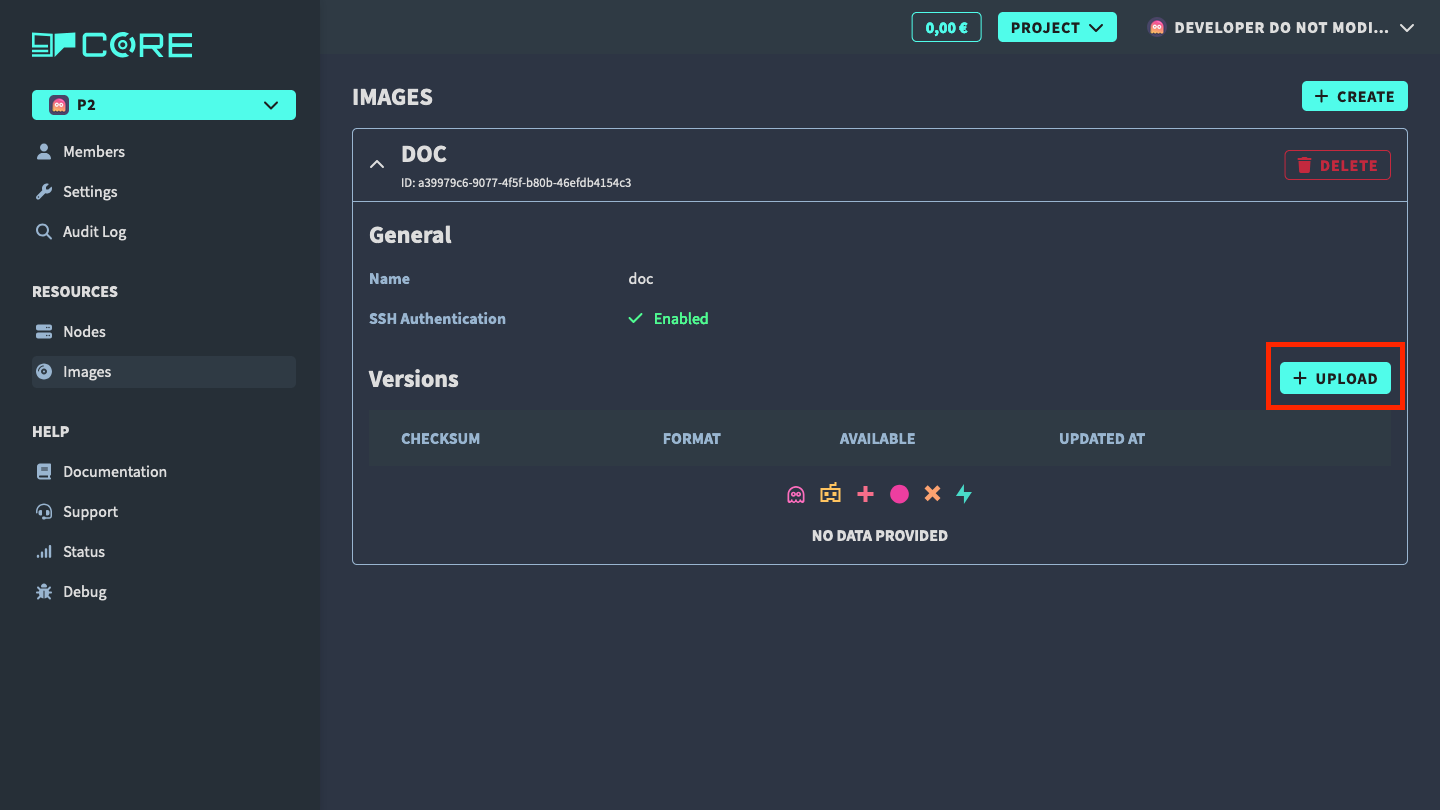
Upload an image version
After your image has been created, you can upload an image by clicking on the Upload Image button.
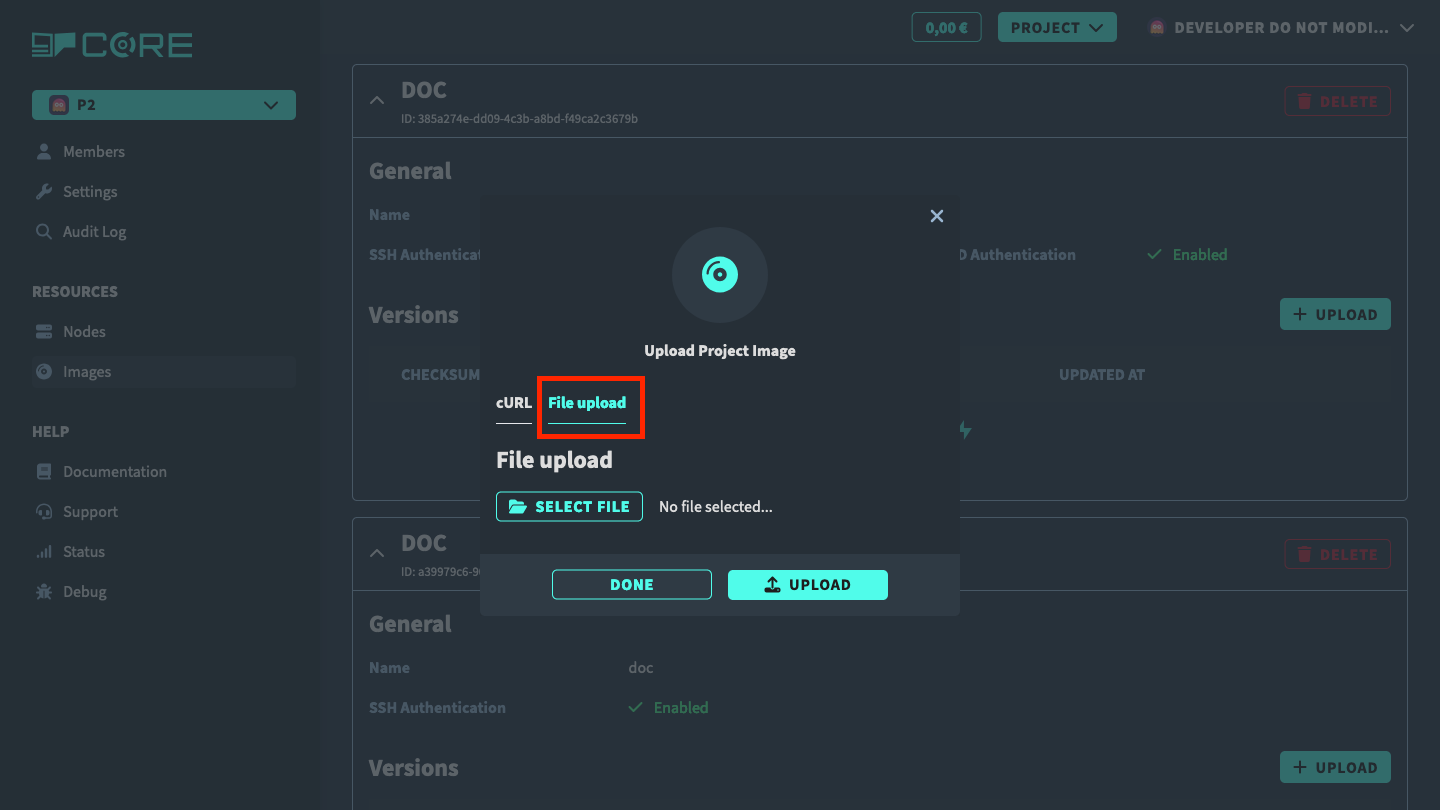
You can upload an image from either
- cURL command: copy the snippet and run it in your terminal. Adjust the path to your image file.
- Web Panel: click on the
File uploadtab in the modal and select your image file. Then click on theUploadbutton. Keep the browser tab open until the upload is finished.
After upload, the image version will be listed in the image panel.
Delete a version
To delete an image version, click on the Delete button in the table row to remove it. If you delete the latest version, the other latest version will be set as the new latest version and installed.
Delete an image
To delete an image, click on the Delete button in the image panel. This will delete all versions of the image.