Create Node
A node is a bare-metal server instance running within one of your projects. Creating a node walks you through a step-by-step wizard where you choose the datacenter location, server hardware (flavour), operating system image, and login credentials. You can create multiple nodes in a single order by adding them to the node list in the final step. Once submitted, the node is provisioned automatically and will be ready to use within a few minutes.
To create a new node, click on the Create button in the project nodes view.
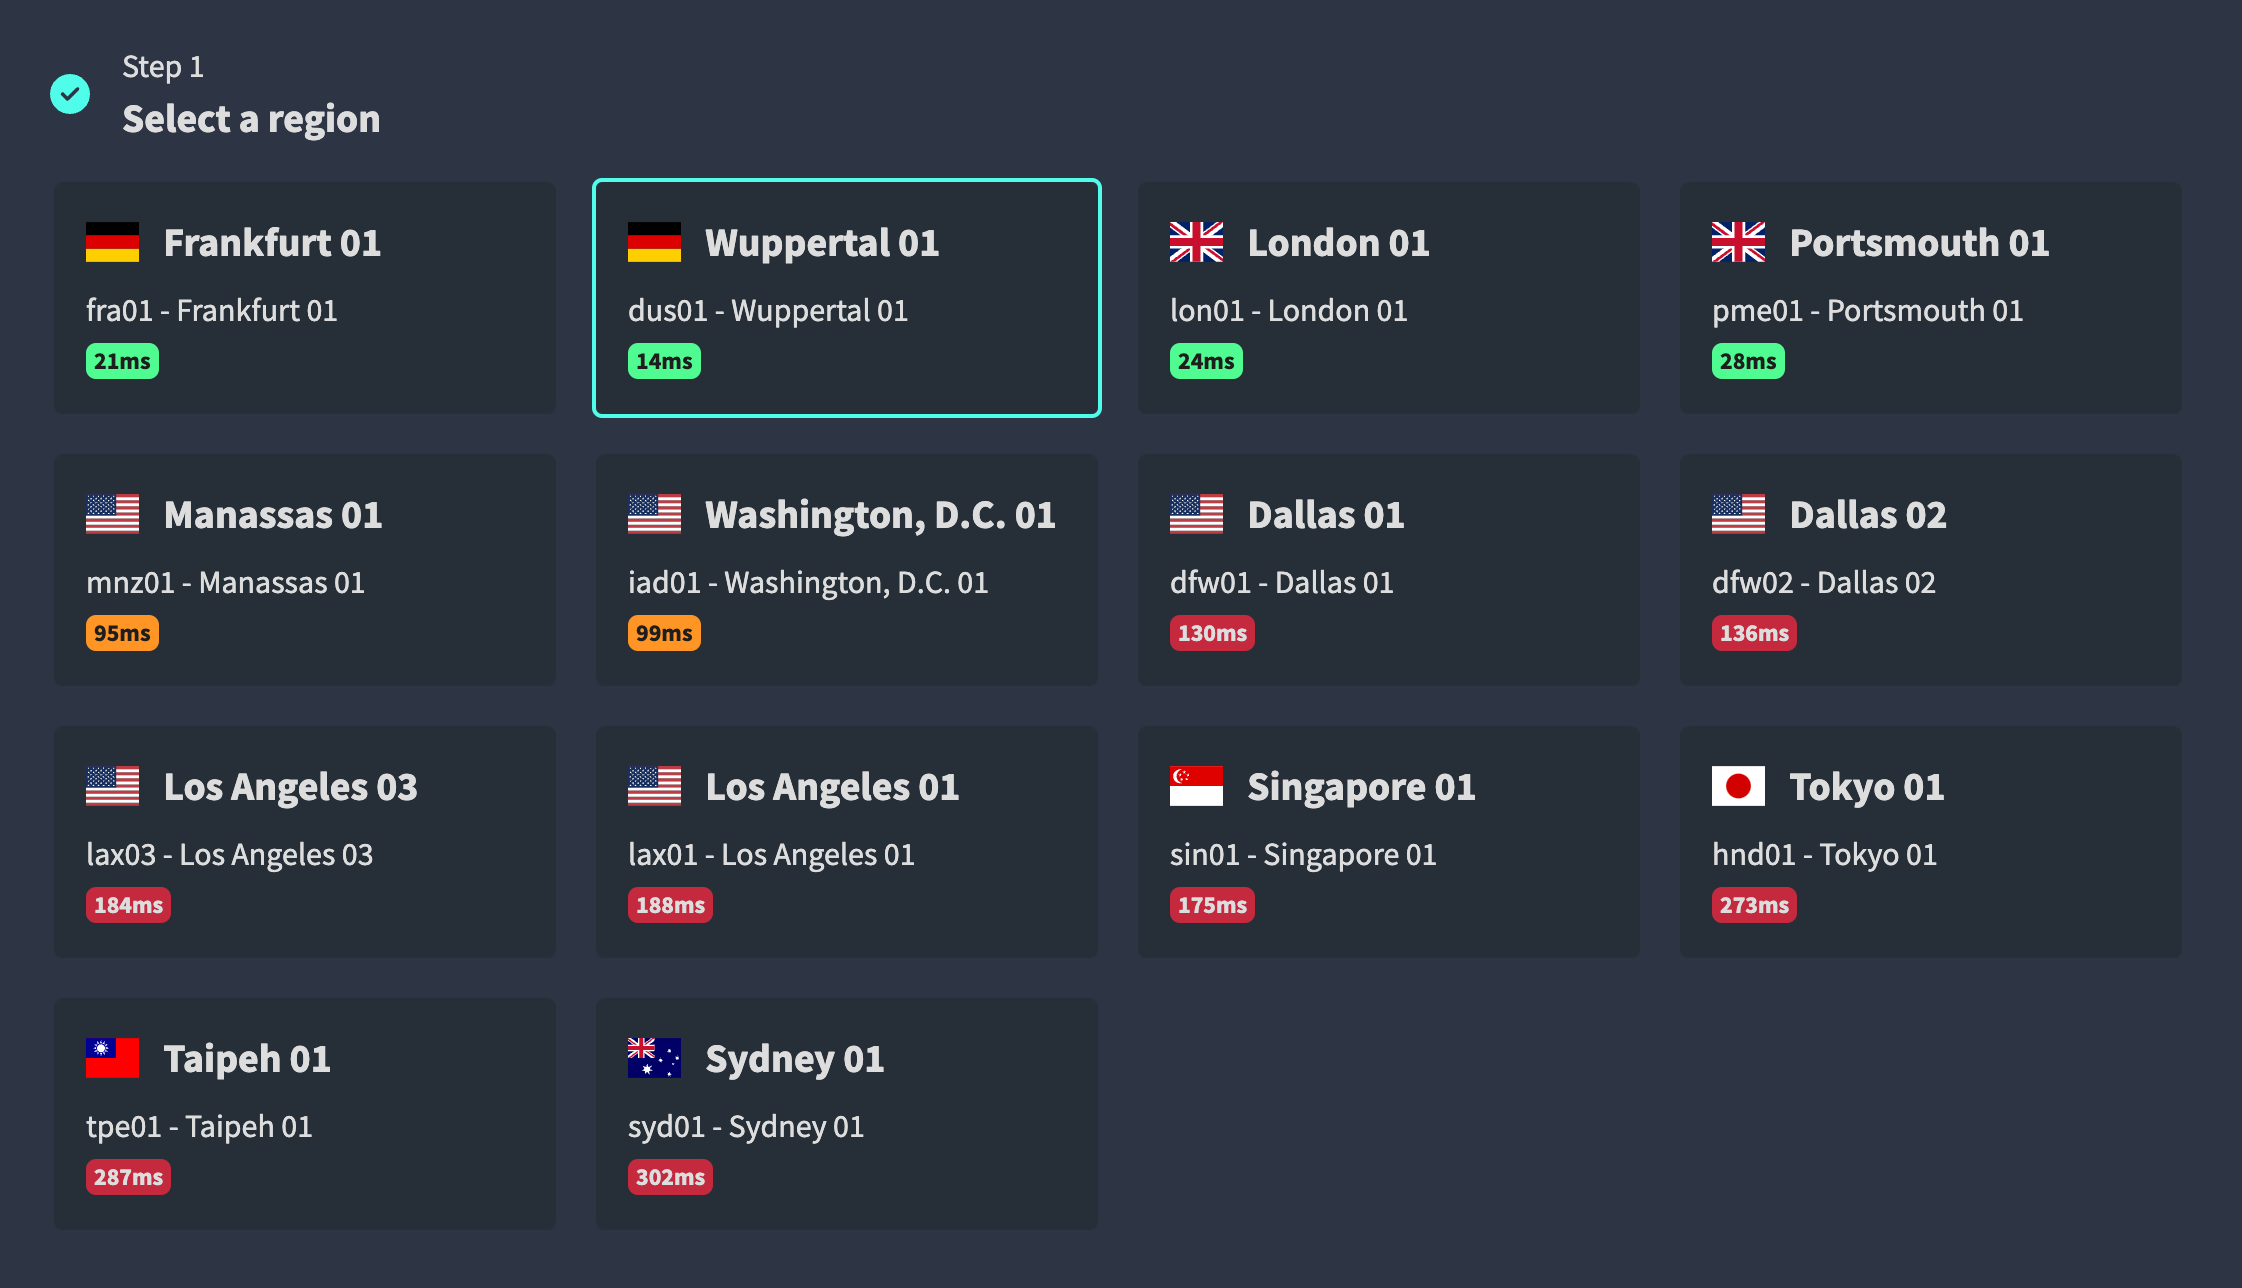
Select Datacenter
In the first step, you can select the datacenter where the node should be created.
Select Flavour
In the second step, you can select the flavour. Every flavour has different configurations like CPU, RAM, and disk space.
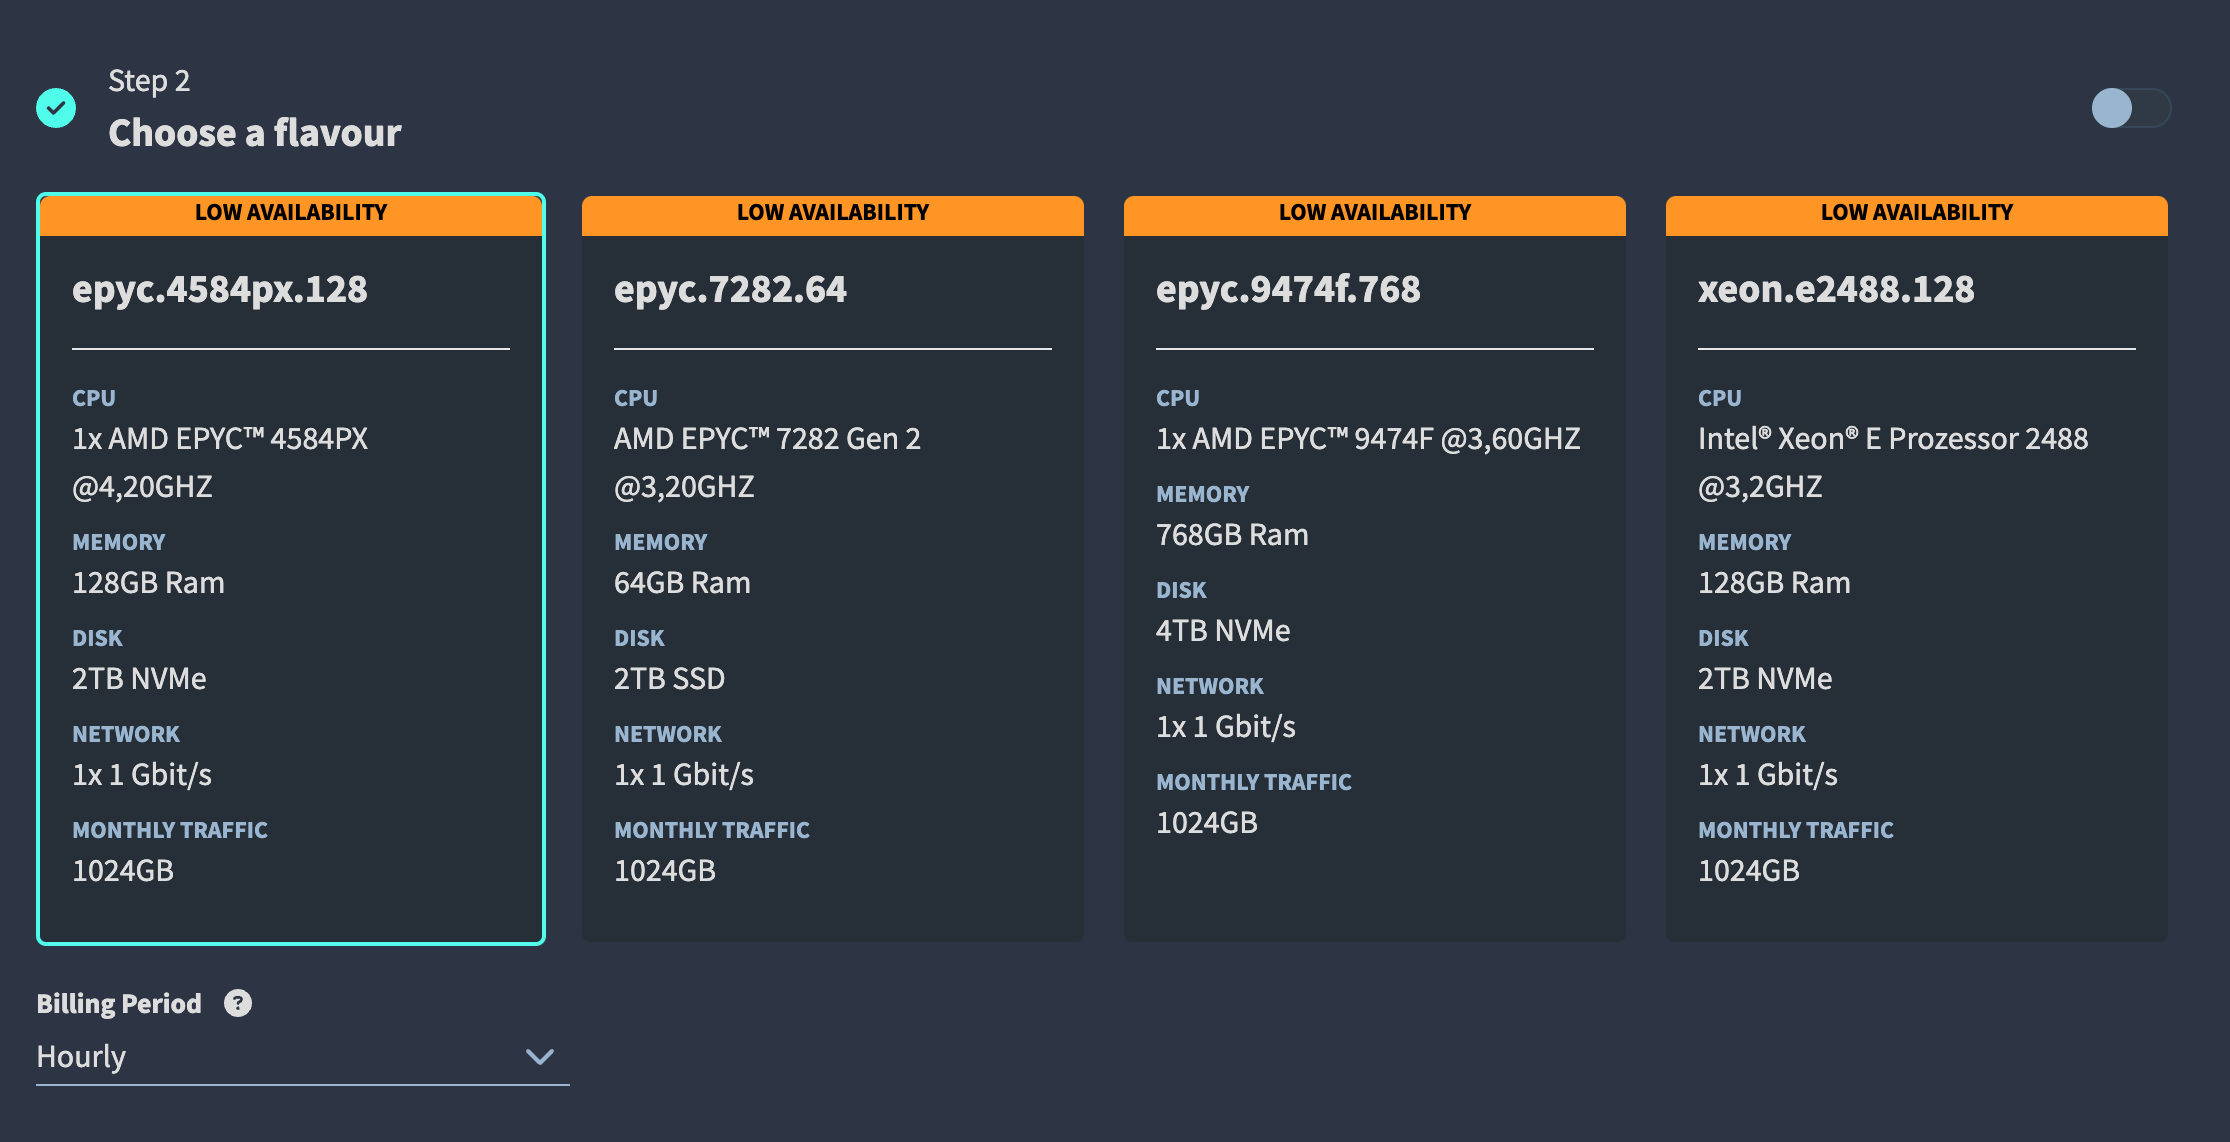
Note
Only project owners are able to see the pricing information.
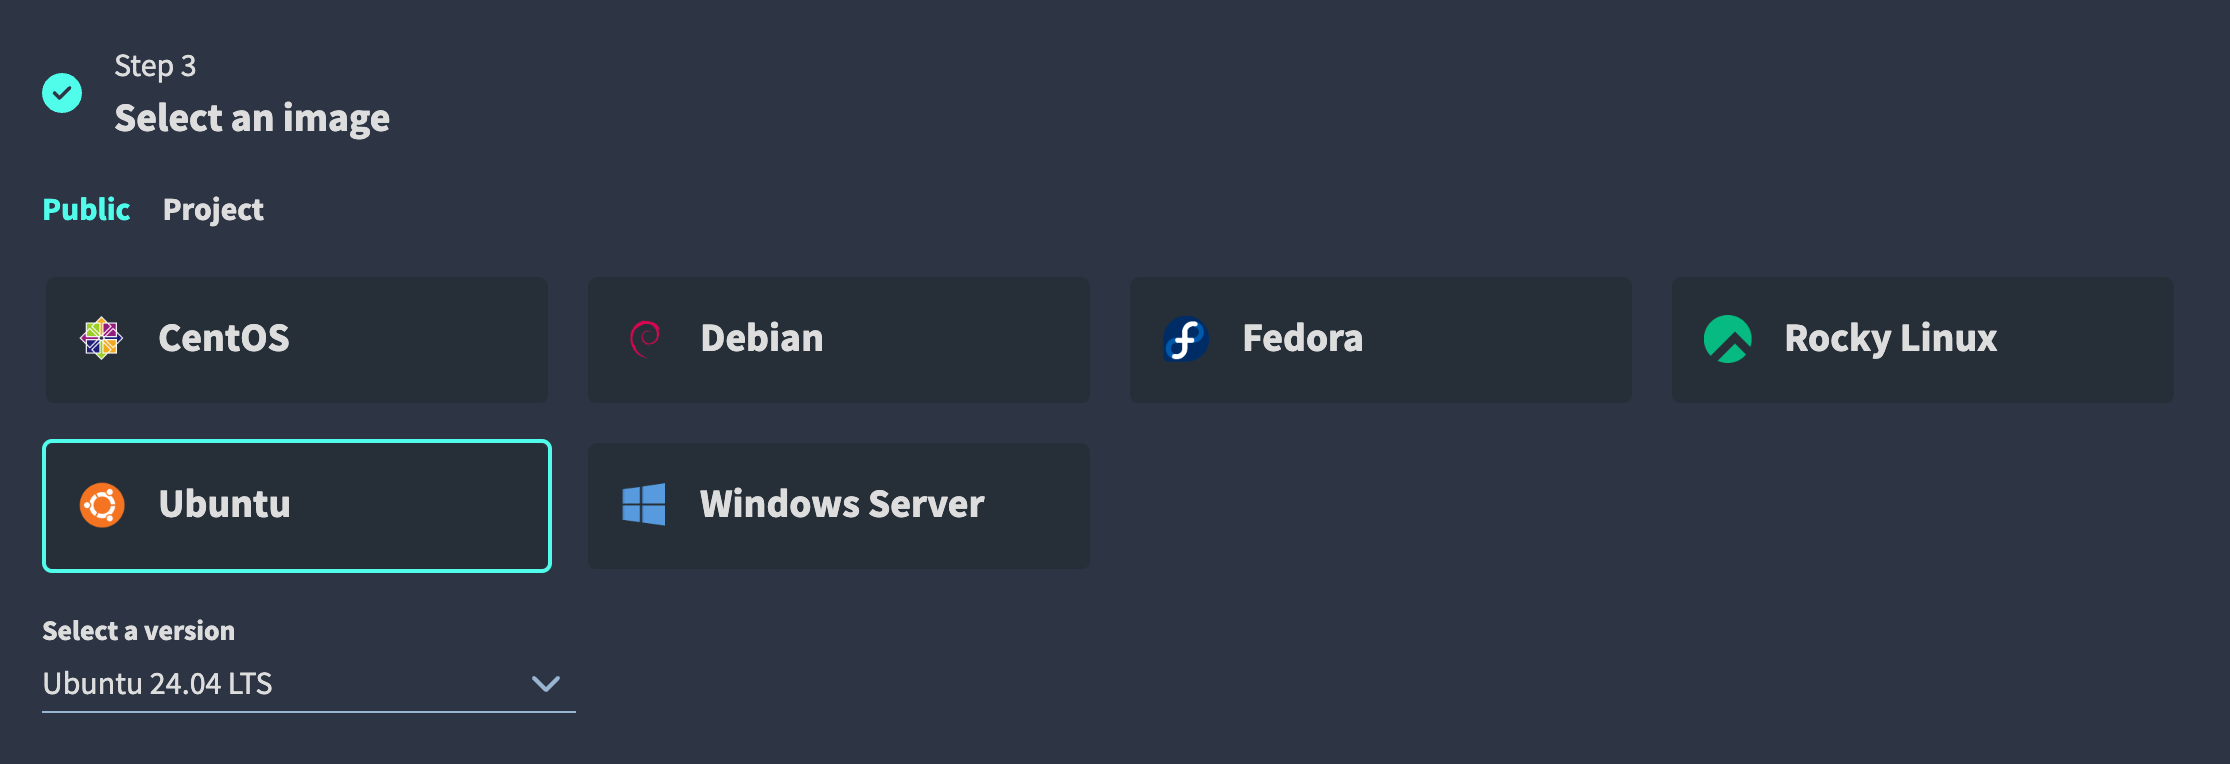
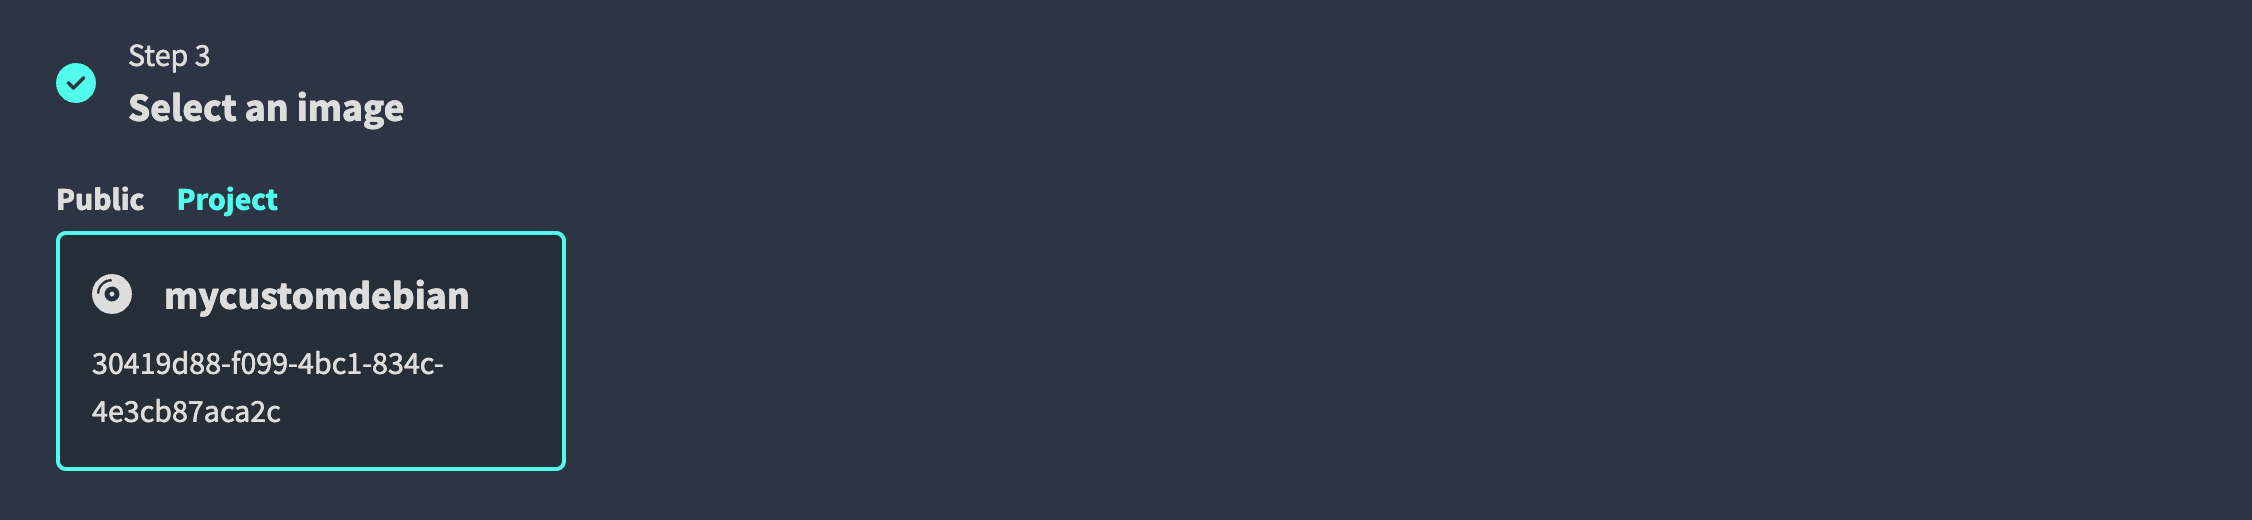
Select Image
In the third step, you can select the image. You can choose between public images provided by us — select a version from the dropdown below the selected image — or project images that you have uploaded yourself. How to manage project images is described here.
Login method
Depending on the selected image, you can choose between different login methods: SSH key or password.
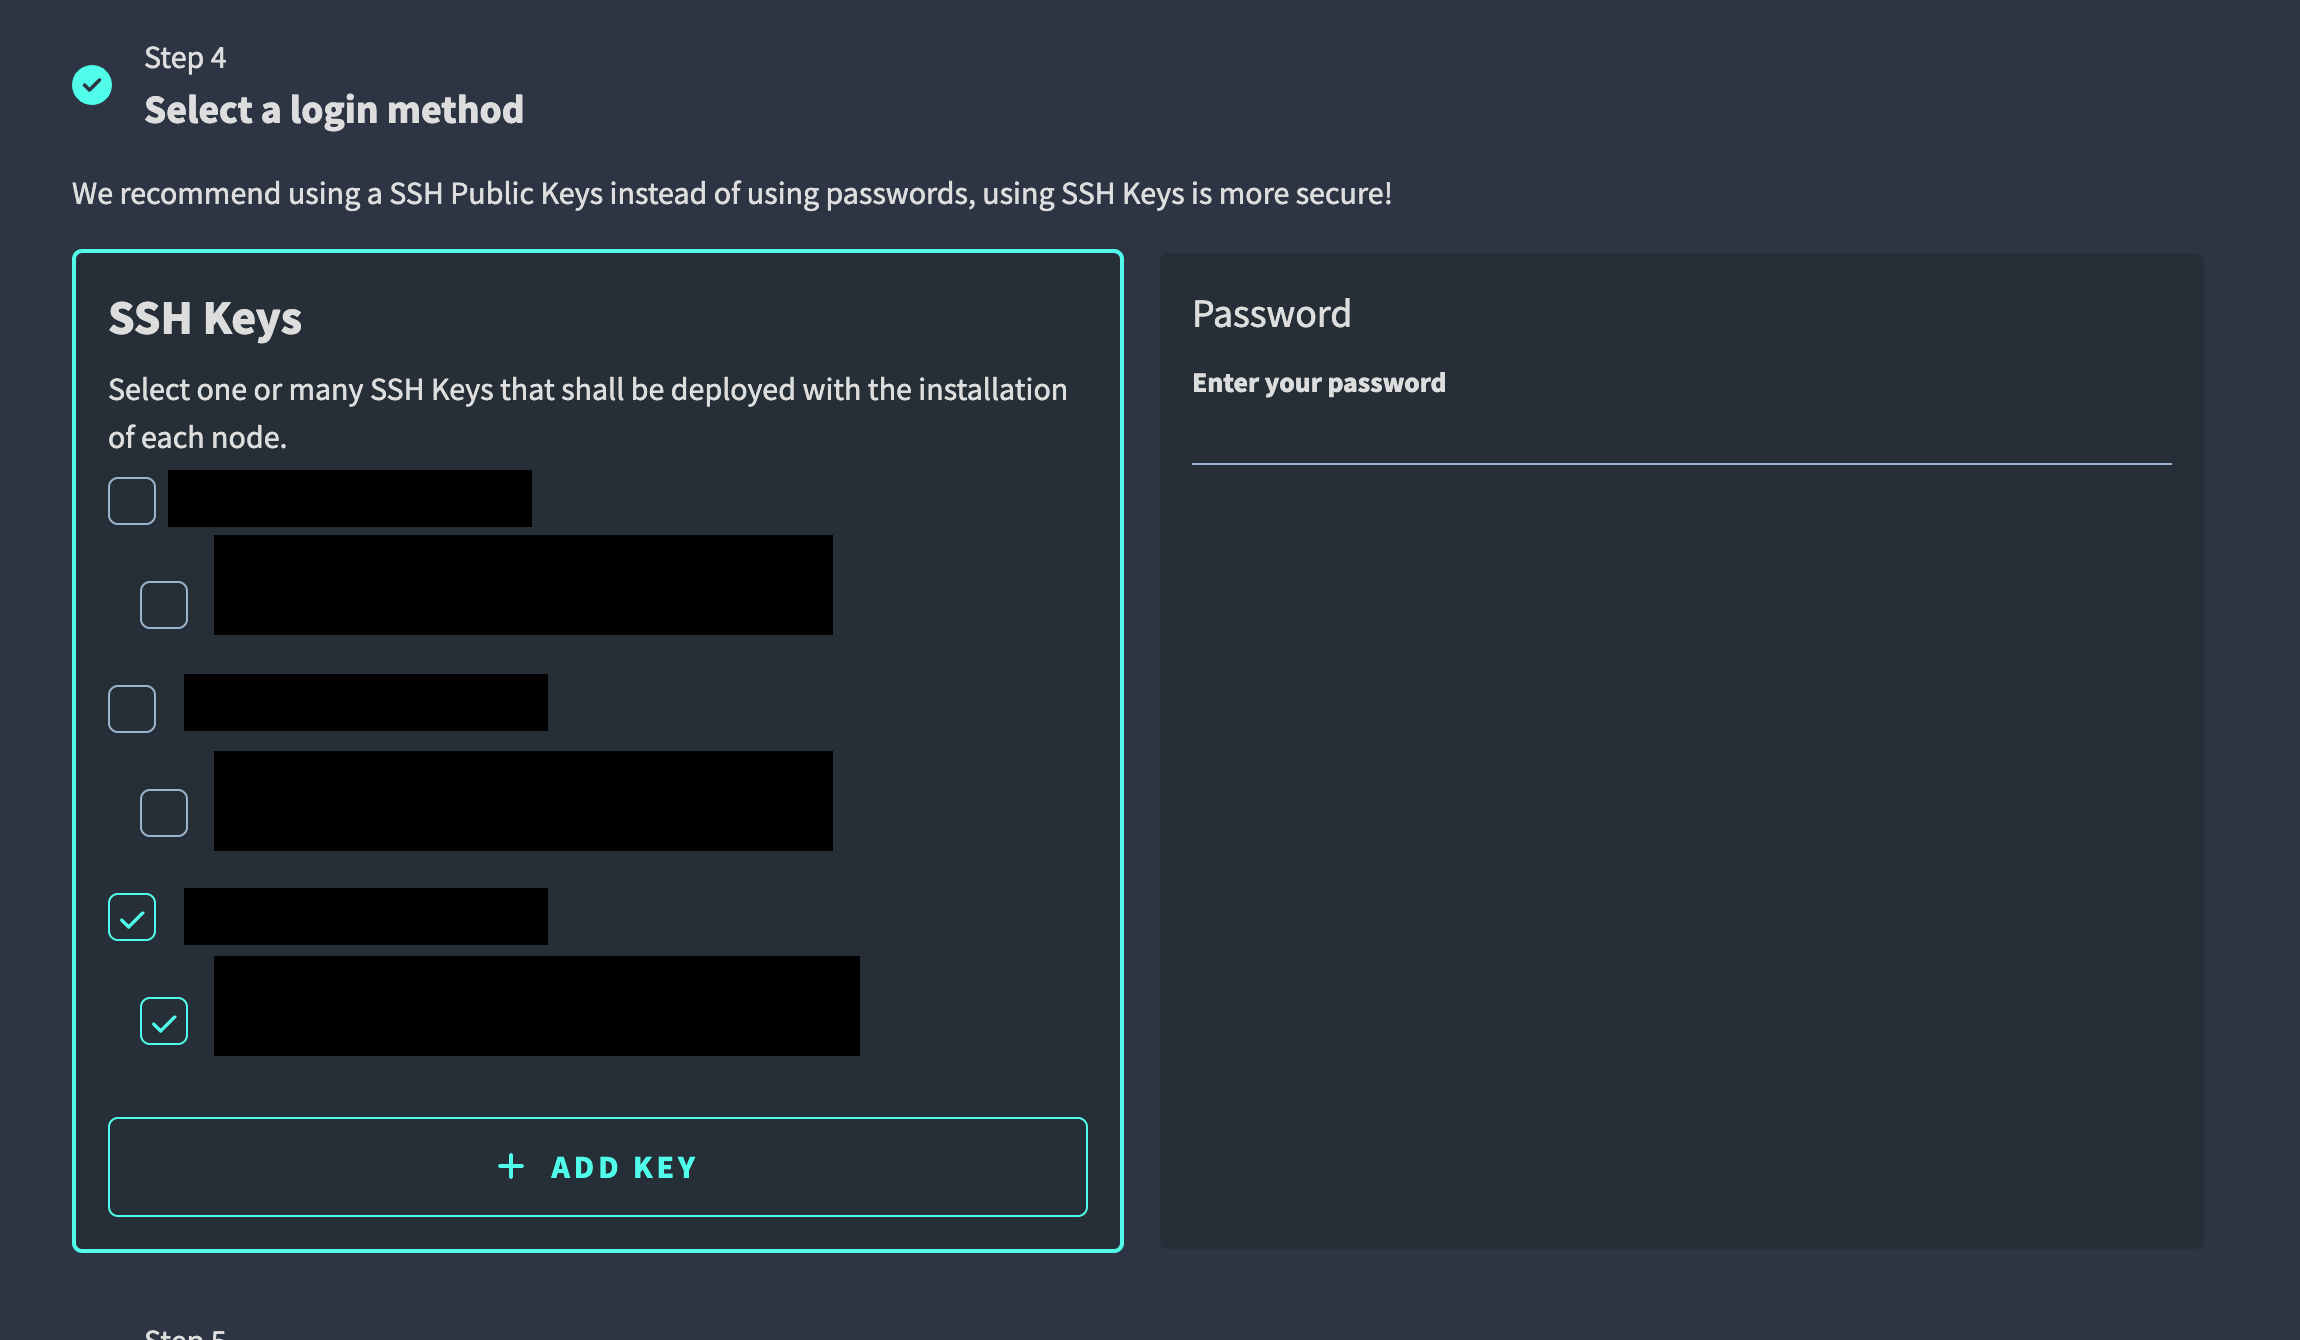
SSH Key
When choosing SSH key-based authentication as the login method, you need to
select an SSH public key. If you haven't added an SSH public key yet, you can
do this by clicking on the Add Key button. SSH public keys are managed in
the user settings under SSH public keys. How to manage SSH public keys is
described here.
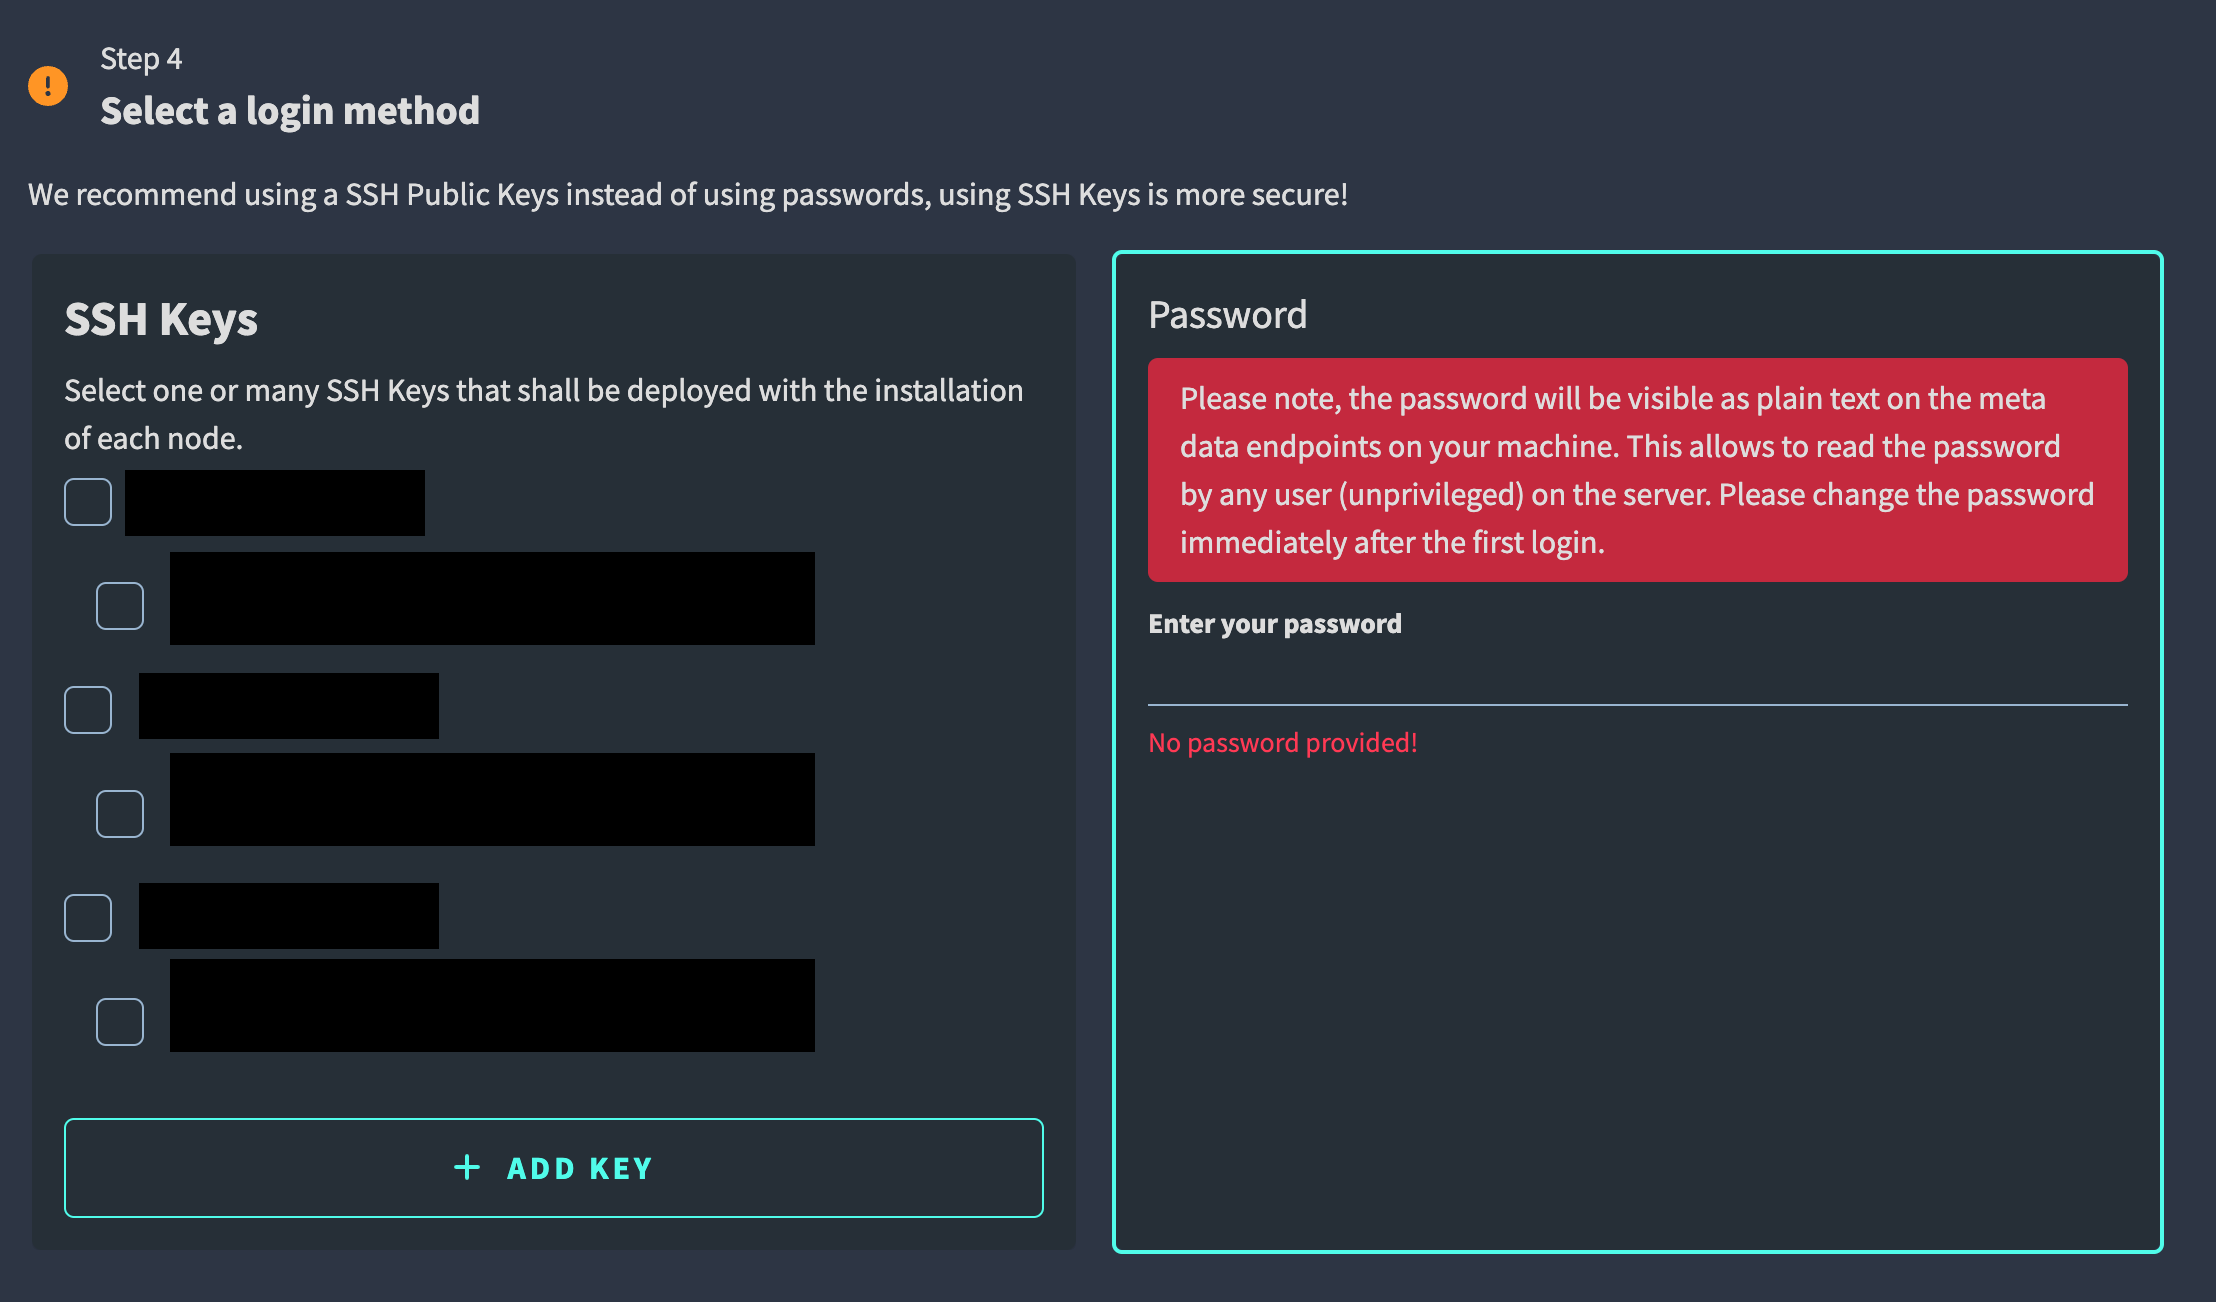
Password
When choosing Password as the login method, you need to provide a password.
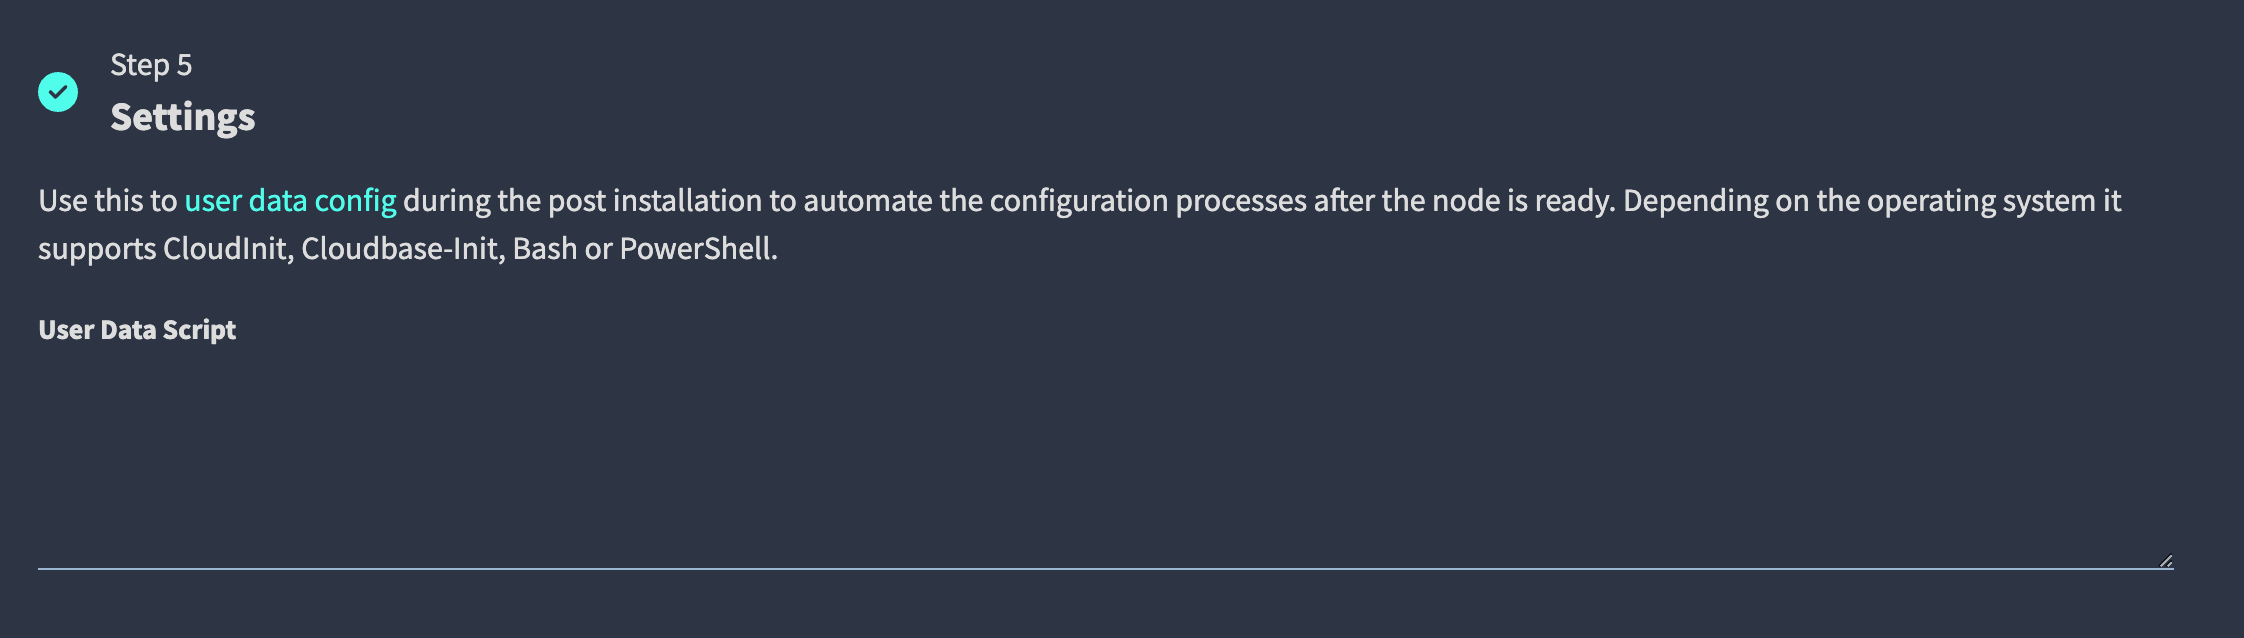
Settings
In the next step, you can provide a script that should be executed after the node has been created.
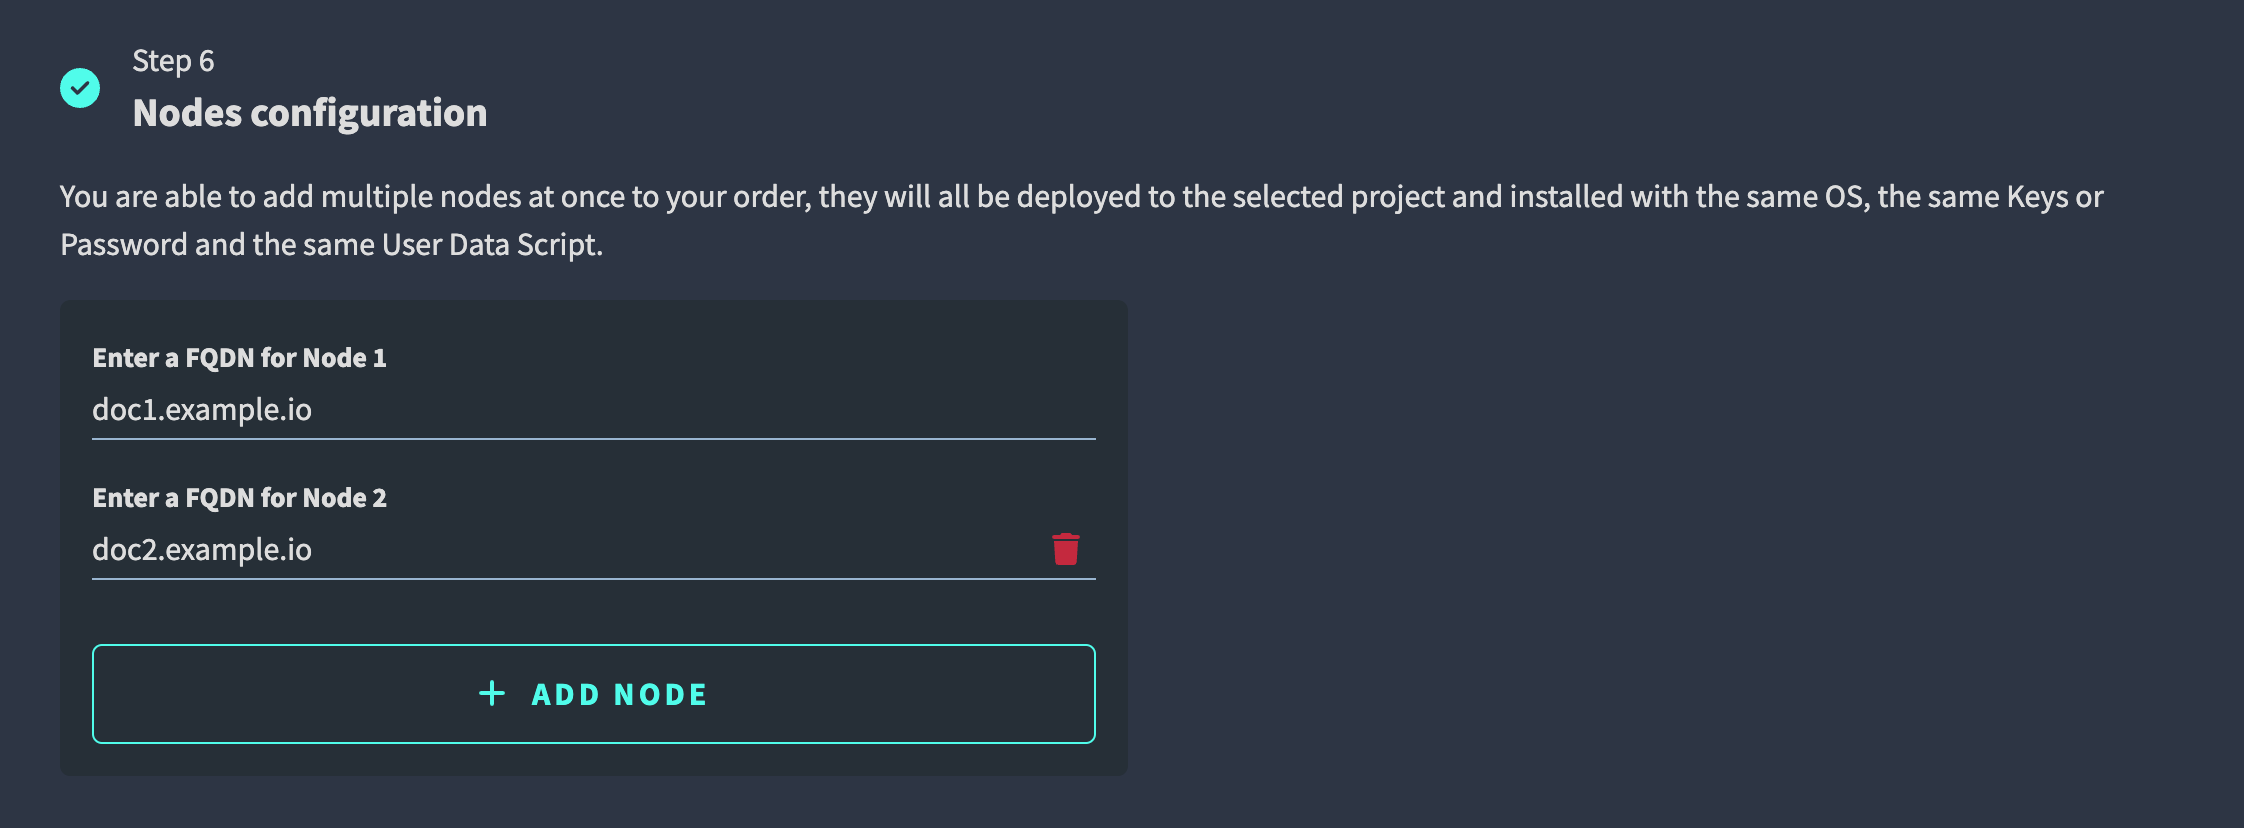
Nodes configuration
In the last step, you can set the number of nodes you want to create. For every node, you have to provide a unique name. Click on Add Node to add another node to the list. Click on the trash icon to remove a node from the list.
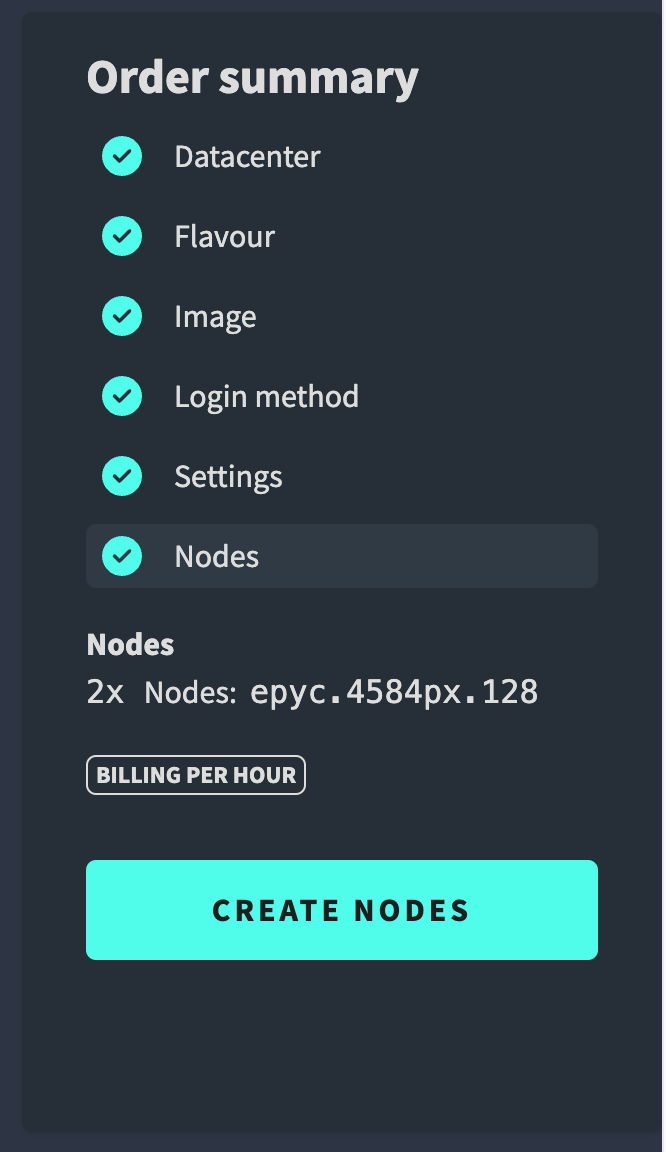
Finish
Once all steps are completed and valid, you can click on the Create button in the Order Summary to create the nodes.
Note
The project owner is able to see the total pricing information before creating the nodes.